
The Dawlish Patio Installation Brief Included "Try Not to Get Killed by the Dog"

Every job comes with a brief. Most of them are fairly sensible - the tiles, the levels, the drainage. This one in Dawlish had all of that, plus a line that doesn't usually show up in a spec sheet: try not to get killed by the dog.
Fair enough. Priorities in order.
The rest of the brief was straightforward on paper: a dog-friendly garden space, grey 20mm porcelain tiles, the shed moved, and, the bit that actually mattered most day to day, no more mud. If you've ever opened the back door to let the dog out after rain and watched them come back in looking like they'd been through a hedge backwards, you'll know exactly why that made the list.
The garden itself started as a patch of churned-up dirt and weeds, with building bags parked where a patio should have been. Not much to work with, and definitely not something you'd want to stand on in socks.

Getting the base right
This is the bit that never makes it into anyone's "after" photos, but it's the bit that actually determines whether a patio lasts twenty years or starts rocking underfoot within two winters.
Materials came in by crane over the fence line (always a good excuse for the neighbours to have a nosy), and from there it was out with the breaker to take up what was already down and dig back to a proper sub-base. Once that was compacted in with a whacker plate, the real work started.
Because the tiles were a full 20mm thick - porcelain and the finished patio needed to sit level with the doors, we needed a decent amount of make-up height. That meant a proper full-bed mortar mix rather than trying to get away with a thin bedding layer: roughly 5 tonnes of sharp sand on site, topped up with another 15 bags from Bradfords when we were closer to finishing than we'd planned for, all mixed on-site in the cement mixer to a semi-dry consistency - firm enough to hold a trowel mark, wet enough to bind and compact properly under the tile. We went with 4:1 of sand:cement.
Kit-wise, this Dawlish patio installation job leaned on the unglamorous end of the van: breaker, whacker plate, cement mixer, spades, the usual grouting and tiling tools, and a tile cutter that got a fair workout around that curved brick wall.
A few tips if you're taking this on yourself
We get asked a lot about DIY patios, so here's what actually matters:
Don't skimp on the sub-base. Whatever's underneath is doing more work than the tiles on top. Dig out properly, compact it in layers, and don't be tempted to build straight onto soft ground because it "looks alright for now."
Work your levels from the doorway first, not the garden. Decide where the top of the finished patio needs to sit relative to the threshold, then build your base height to match, working it out the other way round is how people end up with a step nobody wanted.
Leave a fall away from the house, even if the patio reads as "level" to the eye. A few millimetres per metre is enough to keep water moving away from the doors instead of pooling against them.
Mix your bedding mortar semi-dry, not sloppy. Too wet and it won't support the weight of a 20mm tile evenly and you'll get hollow spots that crack later.
Prime the back of porcelain tiles with a slurry primer before bedding them down. Porcelain is dense and non-porous, so it won't key into the mortar on its own. Skip this step and tiles can come loose months down the line.
Use spacers and keep your joint widths consistent. It's a small thing that makes a huge difference to how "finished" the end result looks.
Let it cure before you grout, and definitely before anyone walks on it properly. Rushing this stage is the single most common reason patios end up disappointing.
Seal the tiles once grouted, especially anything porous around the joints, particularly this close to the coast where salt air and damp weather don't do anyone any favours.
None of it's complicated, but it's easy to cut a corner and not notice until a year or two later when things start moving.
The finish
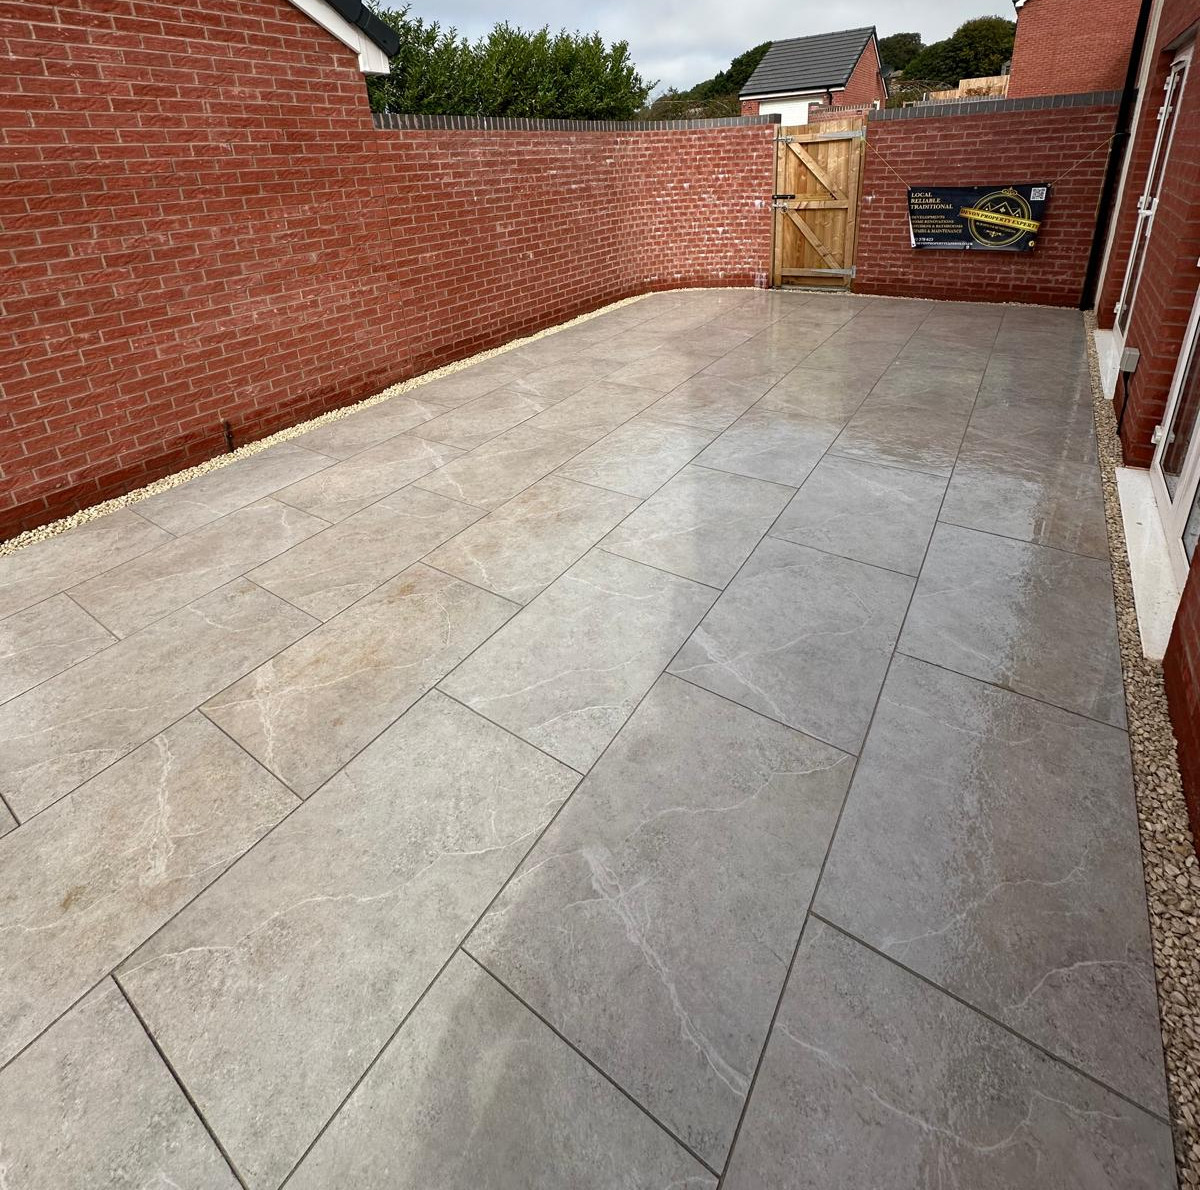
The finished patio is laid in soft grey 20mm porcelain, dressed with stone edging against that lovely curved red brick wall, and sitting flush with the doors. No lip, no step, no trip hazard for two-legged or four-legged members of the household. Dry, flat, dog-proof, and properly built to last, not just to look good on the day it's finished.
Somewhere in the middle of all the breaking, mixing and levelling, the resident dog spent most of it glued to the patio doors keeping a close eye on proceedings! From bare mud to a proper outdoor space in a few days, and as far as we know, everyone made it through in one piece.
Got a garden that's more mud than mud and shows no signs of changing? Feel free to get in touch, we're happy to take a look.


Comments